Epson Connect Printer Setup for Windows |
|
Follow the steps below to enable Epson Connect for your Epson printer in Windows: Important: If you've already assigned an Epson Connect email address to your product, you only need to follow the instructions on our Activate Scan To Cloud and Remote Print page. You do not need to continue with the instructions below. Make sure your product is set up with a wireless or Ethernet connection as described on the Start Here sheet for your product. To see the Start Here sheet for your product, go to www.epson.com/support, select your product, select Manuals, then click on Start Here. To ensure your product is using the latest software and firmware, we recommend running Driver Update to check for updates.
1. Visit the Epson Connect Downloads page and download the appropriate installer for your system. Run the installer and allow for the software to discover your product. 2. Select the product you want to register, then click Next. 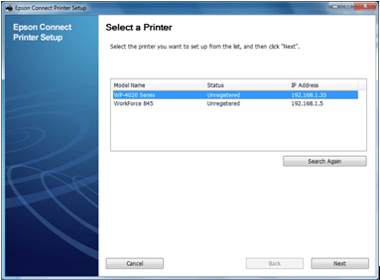 3. Select Agree, then click Next. 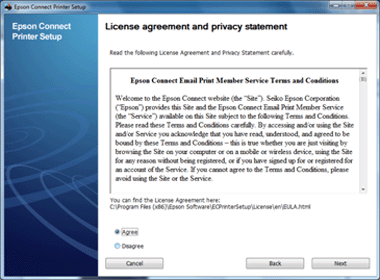 4. Click OK. 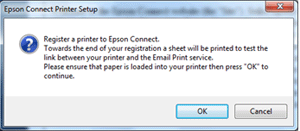 5. Do one of the following:
Add a new printer window 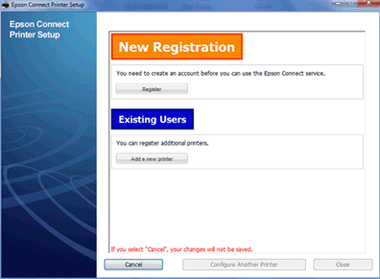 Sign In window 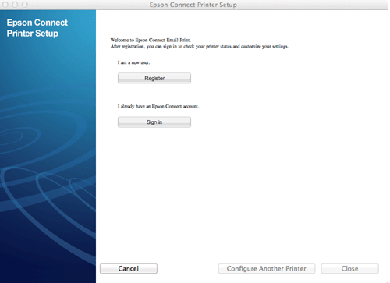 6. When you see a window to sign in or enter your information, enter the required information, then click Sign In or Register. Sign In window 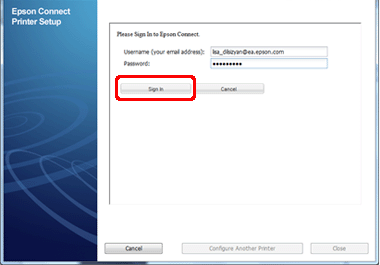 Register window 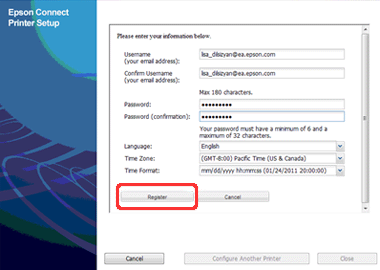 Note: The window below displays your product's name, serial number and email address. You can confirm the email address of your printer by printing the Network Confirmation Sheet from your product's control panel. 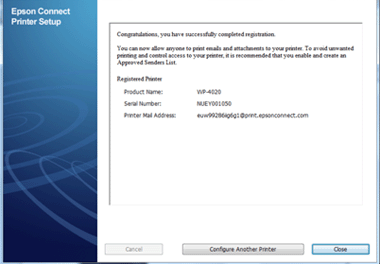 The email print feature is now enabled for your product. You can now monitor your product's Epson Email Print activity when you log into the account. 7. Click Close. 8. Follow the steps on our Activate Scan To Cloud and Remote Print page to complete the setup for your product. |
